




Camera system for inspecting glue seams at the inner seam and opening of cans, for a can manufacturer
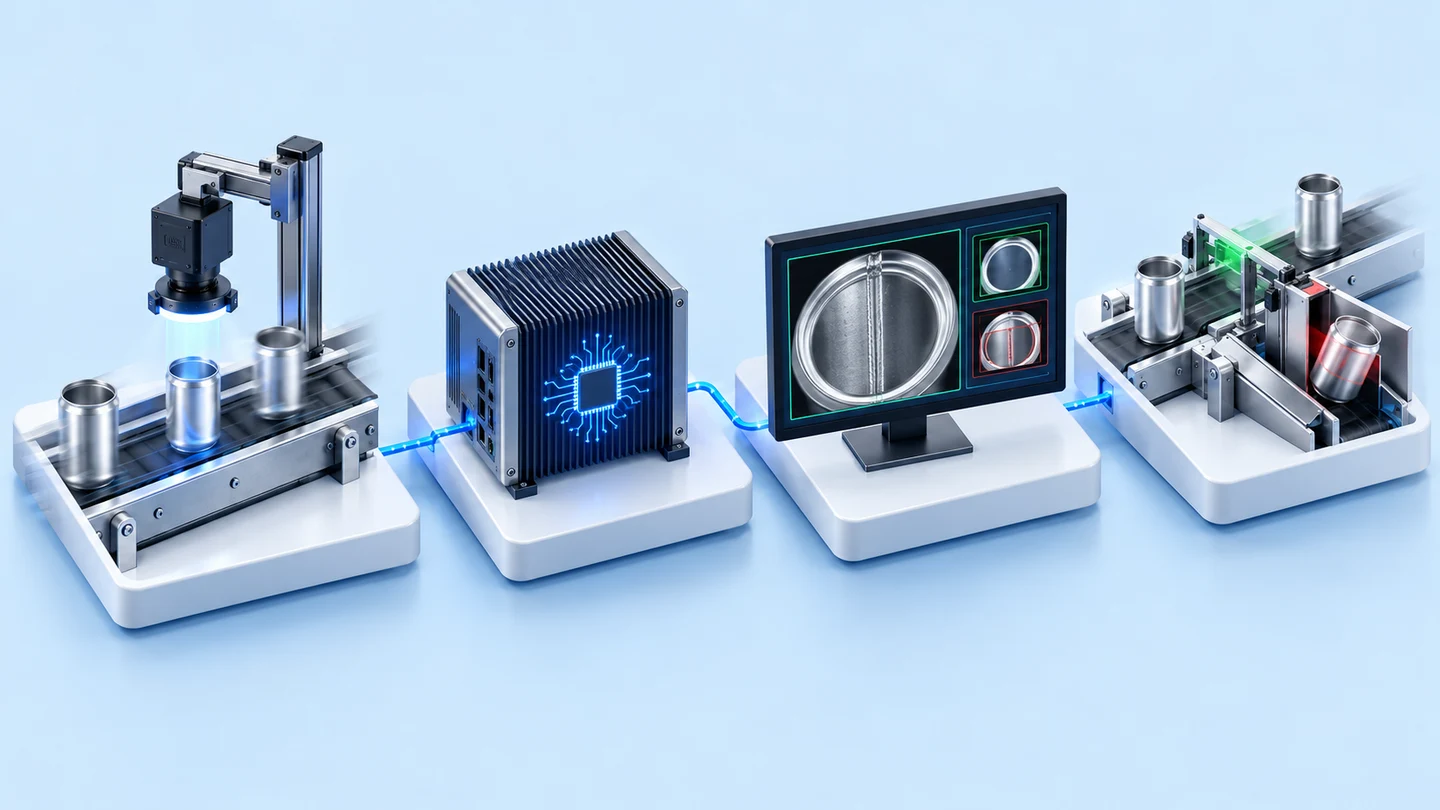
This camera system inspects glue seams at 2 points on a can: the inner can seam and the can opening. It uses a Cube 5MP camera with a Medusa processing unit and a Python and OpenCV program that draws a box around abnormal spots in the image. We built a prototype and tested it on cans for a can manufacturer in 2016–2017. The tests detected the glue seam at the can opening, the concave inner corner still needs further lighting and focus adjustment, and inspection while cans run at high speed still produces errors.
- Industry
- General manufacturing
- Year
- 2016–2017
- Scope of work
- Camera system for inspecting glue seams at 2 points on a can (the inner can seam and the can opening), for a rail on which cans run at 10 pieces per second and rotate in different directions · Input: images from a Cube 5MP camera with an 8 mm lens and a 25 mm macro lens paired with a spot light · Processing: a Medusa processing unit runs a Python + OpenCV program that uses a Mask to define the inspection area and a Threshold to isolate abnormally bright spots · Output: inspection result images with boxes drawn around abnormal spots on the program screen · What we built and tested: a test rig simulating the camera mounting point from the actual machine, tests of the camera, lenses and lighting on cans, 100 inspection tests while cans rotated at various angles, and a report of results by inspection point
- Duration
- Test period Nov 2016 – Apr 2017
Summary
- This camera system inspects glue seams at 2 points on a can: the inner can seam and the can opening. The challenge is a rail on which cans run at 10 pieces per second and rotate in different directions.
- We tested with a Cube 5MP camera and a Medusa processing unit on a test rig simulating the mounting point from the actual machine, during Nov 2016 – Apr 2017.
- The 8 mm lens could not see enough of the concave section inside the can, so we changed to a 25 mm macro lens paired with a spot light.
- Test results on cans (April 2017): the camera detected the glue seam at the can opening, but the concave inner corner was still not clear. The 100 rotation tests in the February 2017 document found that inspection while cans run at high speed still produced errors.
- We built a prototype with a test rig simulating the mounting point, and reported results by inspection point, covering both the points that could be inspected and the points still needing adjustment.
The on-site brief
The can manufacturer wanted to inspect glue seams at 2 points, the inner can seam and the glue seam at the can opening, and show the results on a program screen. Cans run along a rail at 10 pieces per second and rotate in different directions, so the camera has to see the glue seam from every angle and capture images quickly enough for fast-moving workpieces.
What we did
We set up a test rig that simulates the camera mounting point from the actual machine, using a Cube 5MP camera connected to a Medusa processing unit and a test program in Python with OpenCV (an image processing toolkit) that draws a box around abnormal spots in the image. We tested inspection 100 times while cans rotated at various angles, and changed from an 8 mm lens to a 25 mm macro lens paired with a spot light to make the glue seam in the concave inner section visible.
Test results with real workpieces
The latest progress report (April 2017) states that the camera detected the glue seam at the can opening and could see the glue seam at the inner seam, but the concave inner corner was still not clear. The results of the 100 tests while cans rotated (February 2017) found that inspection while cans run at high speed still produced errors. The next step stated is to reduce the program's processing steps before continuing speed testing.
How the brief came about
This system uses a camera to inspect glue seams at 2 points on a can. The first is the inner can seam and the second is the glue seam at the can opening. The task was to find out which camera, lens and lighting would show the glue seams at the 2 points clearly enough for the program to make a decision. The can manufacturer wanted this answer before deciding whether to invest in installing an actual system.
The test period was Nov 2016 – Apr 2017. We built a prototype with a Cube 5MP camera and a Medusa processing unit, tested it on cans and reported results to the customer at intervals.
Requirements and constraints
The prototype had to inspect glue seams on cans that move quickly and do not all sit in the same orientation. The main requirements of the brief were as follows.
- Inspect glue seams at 2 points: the inner can seam and the glue seam at the can opening
- Cans run along the rail at 10 pieces per second, and the camera must capture images quickly enough for moving workpieces
- Cans on the rail rotate in different directions and have no fixed position, so the camera must be able to see the glue seam from every angle
- Show inspection results on a program screen
Why test a prototype before actual installation?
Because inspecting glue seams inside a can depends on lighting, lens and camera angle as much as on the program that makes the decision, and the results can only be known by trying these on real workpieces. We therefore set up a test rig simulating the camera mounting point from the customer's actual machine, then tested step by step in this order.
- 1
Define inspection points and camera mounting points
There are 2 inspection points: the inner can seam and the glue seam at the can opening. We simulated the camera position according to the mounting point on the actual machine, so that test results would be close to on-site conditions.
- 2
Capture images with the Cube 5MP camera
The Cube 5MP camera, connected to the Medusa processing unit, captures images of cans as they rotate at various angles, because cans on an actual rail do not all face the same direction.
- 3
Isolate abnormal spots with Mask and Threshold
The test program is written in Python with OpenCV (an image processing toolkit). It uses a Mask (an image defining the inspection area) to cover the parts that do not need inspection, then isolates abnormally bright spots with a Threshold (a brightness criterion) and draws a box around those spots in the inspection result image. This program uses rule-based image processing, not AI.
- 4
Adjust lens and lighting based on test results
The 8 mm lens used in the first set could not see the glue seam in the curved, concave section inside the can, so we changed to a 25 mm macro lens, used a spot light and further adjusted the focus distance.
What is a macro lens?
A macro lens is a lens that can focus at very close range, so small details can be seen clearly. It suits work that requires looking at glue seams or defects in narrow areas, but its depth of field is shallow: if the light or camera position changes, the focus must be readjusted accordingly.
What we built and tested
We built and tested the following components. The test results serve as input to the customer's decision before investing in installing a system.
- Test rig simulating the camera mounting point from the actual machine
- Cube 5MP camera set with a Medusa processing unit, an 8 mm lens, a 25 mm macro lens and a spot light
- Python + OpenCV test program that creates inspection result images with boxes drawn around abnormal spots
- Test result report by inspection point, with items still to be adjusted
How well does this prototype inspect glue seams?
According to the latest progress report (April 2017), the prototype detected the glue seam at the can opening and could see the glue seam at the inner can seam, but the concave inner corner was still not clear and needed further adjustment of lighting and focus distance. This result came from the 25 mm macro lens set paired with a spot light. The February 2017 document found that inspection while cans run at high speed still produced errors.
Prototype test results by inspection point
| Item tested | Recorded result | Source document |
|---|---|---|
| Glue seam at the can opening | Detected | Progress report, April 2017 |
| Glue seam at the inner can seam | Camera could see the glue seam | Progress report, April 2017 |
| Concave inner corner of the can | Not yet clear; further adjustment of lighting and focus distance needed | Progress report, April 2017 |
| Inspection while cans rotated at various angles, 100 times | Still produces errors while cans run at high speed; the program's processing steps must be reduced before further testing | Test record, February 2017 |
The documents record the number of tests but do not state a detection rate, so this page does not show accuracy figures. The speed of 10 pieces per second is a requirement of the brief, not a result that has passed testing.
Scope of the test results
The results in the table come from the test rig simulating the camera mounting point, the batch of cans used for testing and the lens and light set specified. If your workpieces, lighting or rail speed differ from these, testing must be repeated with your actual workpieces.
What we learned
At hard-to-see points, lighting, lenses and rail speed must be tested on real workpieces before setting decision criteria in the program.
- Lighting and lenses determine what the camera sees. At curved, concave points, the first lens set may not show enough detail, so close-range lenses and spot lighting must be tried on real workpieces before setting decision criteria in the program.
- Rail speed is a requirement that must be tested separately. A program that can inspect images while workpieces move slowly may produce errors when they run fast, so processing time per image must be measured against rail speed from the prototype stage.
- Test results must be separated by inspection point and use real images. We captured images directly from the camera instead of extracting frames from video, to get actual-size images, and reported passing points separately from points still needing adjustment, so decision-makers can see the real limitations before investing.
How this approach can apply to your work
If you need to inspect glue seams, joints or seams at points that are hard to see from outside, you can use the same work sequence as this case: simulate the mounting point first, try lenses and lighting on real workpieces, then test while the workpieces are moving. What must be adjusted is the lighting, lens and inspection method when the workpiece or speed differs from this case.
Reusable parts and parts that need adapting
| Part of the work | Reusable | Needs adapting when |
|---|---|---|
| Test rig | Simulating the camera position from the actual machine before installation | A different machine or mounting point must be simulated again from your videos and machine drawings |
| Lens and lighting | Changing to a macro lens paired with a spot light when the inspection point is in a concave section | If the workpiece surface, colour or shape differs from a can, lighting must be tested again on the actual workpiece |
| Inspection program | Using a Mask to define the inspection area and a Threshold to isolate abnormally bright spots | If your defects cannot be separated by brightness, another inspection method must be chosen |
| Speed testing | Repeated testing while the workpiece rotates at various angles | If rail speed or workpiece placement differs, processing time must be measured again |
- Prepare workpiece samples with both good glue seams and defective ones, along with video of the mounting point on the machine
- Provide the actual rail speed and how workpieces are placed on the rail
- Agree pass/fail criteria for the glue seam with your quality team before starting, for use in measuring the prototype's results
- Allow time to try several types of light source, lighting angle and lens
Read more
- Machine Vision consulting and system design service
- System development service tailored to factory requirements
- DSIS can seam inspection machine case
- Lotion cap orientation camera prototype case
- Article: How AI Vision Inspection differs from the human eye
- Article: choosing ready-made Task Cam or custom-built Machine Vision
Technology used
Frequently Asked Questions
Can this prototype inspect glue seams at every point yet?
Not all of them. According to the latest report, the camera detected the glue seam at the can opening and could see the glue seam at the inner can seam, but the concave inner corner was still not clearly visible and needs further adjustment of lighting and focus distance.
Can it inspect fast enough for a rail speed of 10 pieces per second?
This has not been confirmed. The results of the 100 tests while cans rotated found that inspection at high running speed still produced errors. The conclusion was that the program's processing steps must be reduced before further testing.
Why change from an 8 mm lens to a 25 mm macro lens?
The 8 mm lens in the first test set could not see the glue seam in the curved, concave section inside the can. A macro lens can focus at close range, so small details can be seen more clearly. We used it with a spot light. However, a macro lens has a shallow depth of field, so the focus must be readjusted every time the camera or light position changes.
If I want a system to inspect glue seams or other types of packaging, what do I need to prepare?
Prepare workpiece samples, both good and defective, videos or images of the installation point on the machine, the actual track speed, and the pass/fail criteria your quality department uses. We use this information to test the camera, lens and lighting before proposing a system.
What are the price and development time?
There is no standard price. Camera inspection work designed around a specific workpiece must be assessed at the actual site. You can request a quotation, and we will propose a prototype test plan and a price after reviewing the workpiece samples.